 |
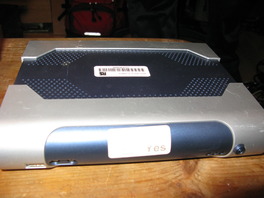
The next step was to build the computer. It contained a 1GB CF card as storage. I connected up a USB keyboard and USB CDROM drive and did a standard install of Debian Etch. Only having 1GB of storage, I installed Fluxbox, Iceweasel and NTP. |
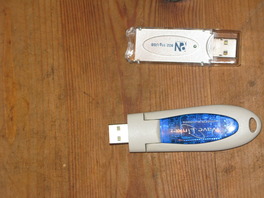 |
With the OS installed it was time to get the network working. I plugged in the wireless adapter and had to install and configure WPA Supplicant to allow the adapter to connect to the network using WPA. The bluetooth dongle was just plugged in and the bluetooth tools installed. |
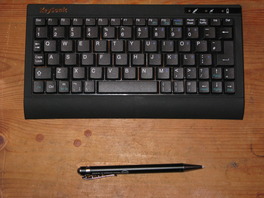 |
The next step was to persuade the bluetooth keyboard to talk to the computer. Not as easy as it sounds. In the end I had to install kdebluetooth tools and I'm still not entirely sure how I got that to work. |
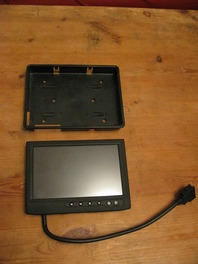 |
The touchscreen has a number of connectors onto a single cable. I used VGA to connect to the computer. The touchscreen is a USB device and there is also a power connector. The screen was autodetected by Xorg. Getting the screen to work was fairly easy after I found the updated driver as the one on the CD was ancient. |
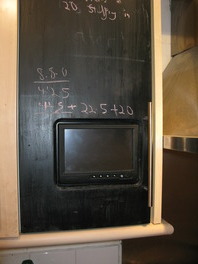 |
With the computer built and all the hardware installed and configured, I could start fitting it to the kitchen cupboard. I started by fitting the screen to the door. With the help of a Dremel, it fitted in nicely. |
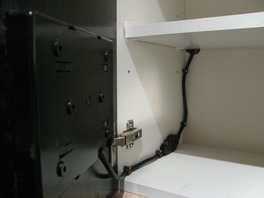 |
I took the cable from the screen and clipped it to the side of the cupboard. I also had to drill a hole in the back of the cupboard for the cable. This was a pain as the cupboard is close to the back wall so there was not much room to fit the cable in. |
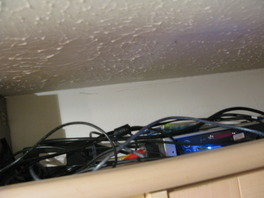 |
With the screen in place, I stashed the computer and cables on top of the cupboard, out of sight. |
 |
Here is the bluetooth keyboard in use |
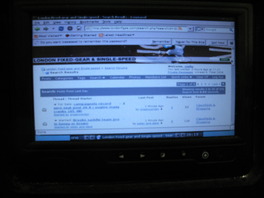 |
Here is the screen in use. |